
Where to dig in?
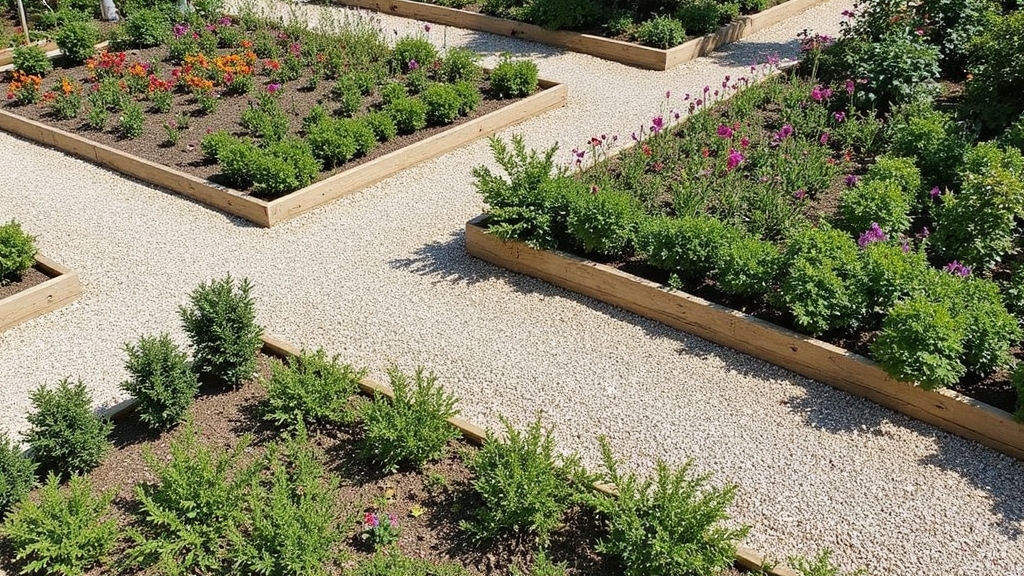
For beginners, start with basic garden layouts like raised beds or containers that allow closer plant spacing. Orient rows north-to-south, keeping beds 3-4 feet wide with 18-24 inch pathways between them. Group plants with similar water and sunlight needs together, and position frequently harvested items near your kitchen door. Consider vertical gardening in small spaces using trellises or recycled materials. Proper planning now creates a garden that’s both beautiful and functional as your green thumb develops.
Understanding Basic Garden Ideas: The Foundation of Successful Planning
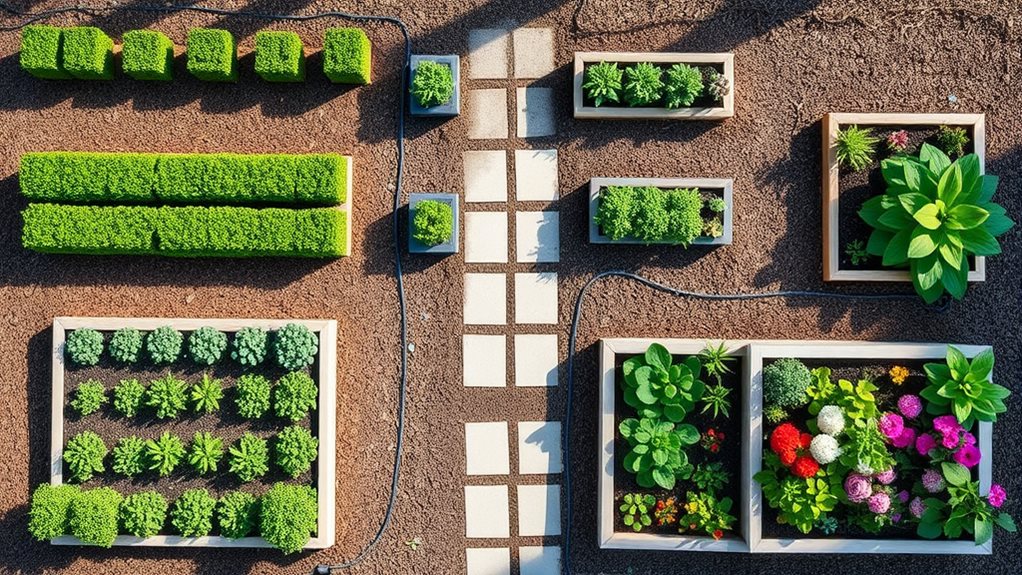
Garden layouts serve as blueprints for your growing success, transforming random planting into organized, productive spaces. Start by grabbing graph paper and mapping your garden using a 1-foot-per-box scale, which helps you visualize proper spacing before planting.
Consider these essential layout principles:
- Orient rows north-to-south, arranging plants from tallest to shortest
- Keep garden beds 3-4 feet wide to prevent soil compaction
- Leave 18-24 inch pathways between beds for easy access
- Group plants with similar water and sunlight needs together
When selecting your garden site, look for areas that provide adequate sunlight levels for optimal plant growth. Before finalizing your design, evaluate your garden’s environment by tracking sunlight patterns and testing soil pH. Remember to incorporate vertical elements like trellises for vining crops, which maximize your growing space while keeping the garden organized. For those with limited space, consider starting with container gardening using pots for easy-to-grow plants like grape tomatoes, herbs, and mini bell peppers.
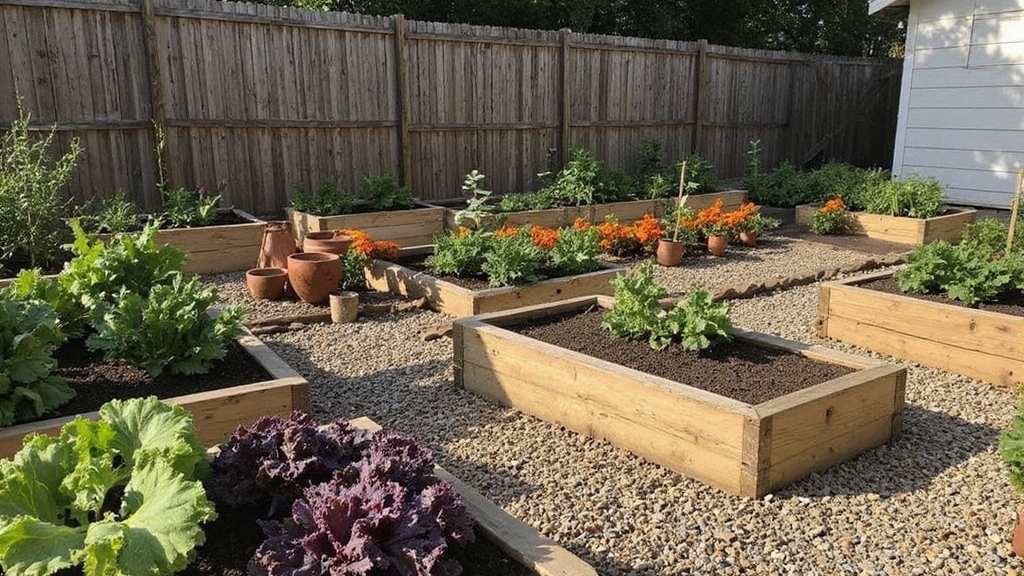
Raised Beds and Container Gardens: Perfect Starter Options
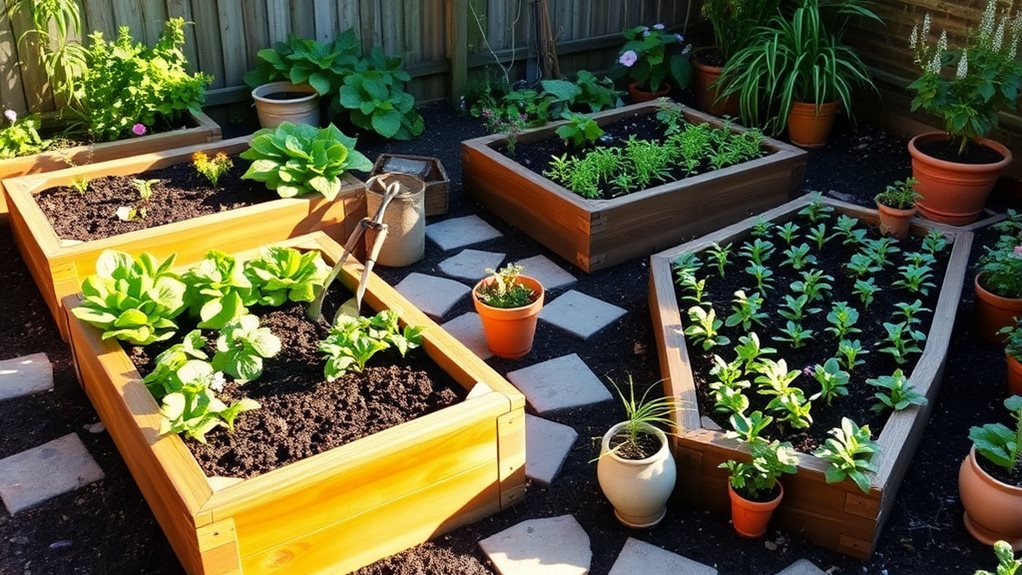
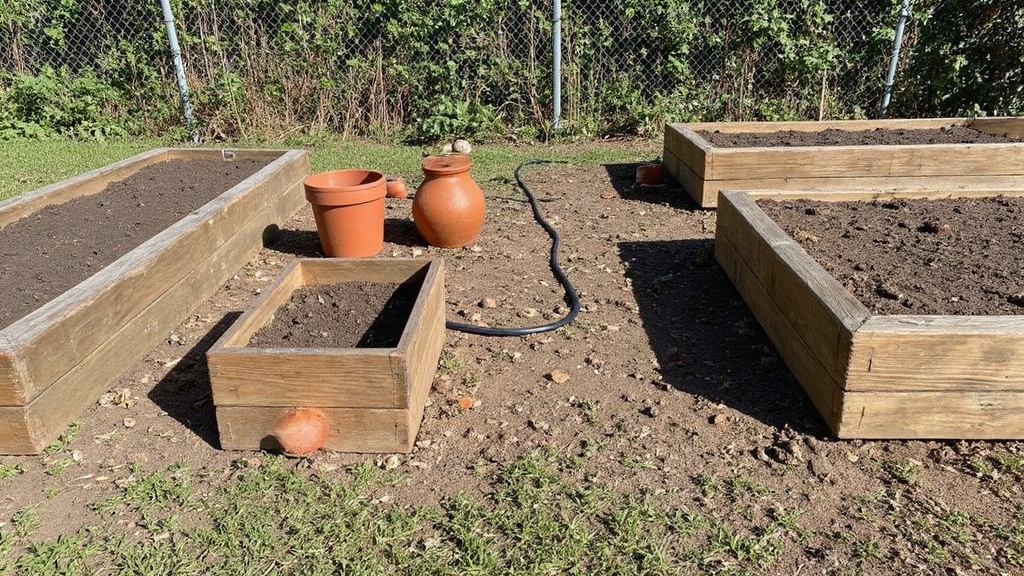
Once you’ve mapped out your garden’s basic layout, raised beds and container gardens offer practical starting points for new gardeners. These options improve soil quality, reduce maintenance, and make growing plants more accessible for everyone. Raised beds allow for closer plant spacing than traditional in-ground planting methods, maximizing your growing area. Before planting, make sure to assess soil drainage conditions to ensure healthy plant growth.
| Garden Type | Ideal Depth | Best Materials | Perfect Plants |
|---|---|---|---|
| Raised Beds | 12-18 inches | Cedar, metal | Leafy greens, root crops |
| Containers | 8-12 inches | Ceramic, fabric | Herbs, peppers |
| Small Beds | 12 inches | Composite boards | Bush beans, radishes |
| Large Pots | 10 inches | Terracotta | Dwarf tomatoes, strawberries |
Start with one 4’x4′ bed or a few containers, using a mix of compost, peat moss, and vermiculite for excellent drainage and fertility. You’ll enjoy higher yields while using less water, and you can easily expand your garden as your confidence grows.
Maximizing Small Spaces: Vertical and Compact Solutions
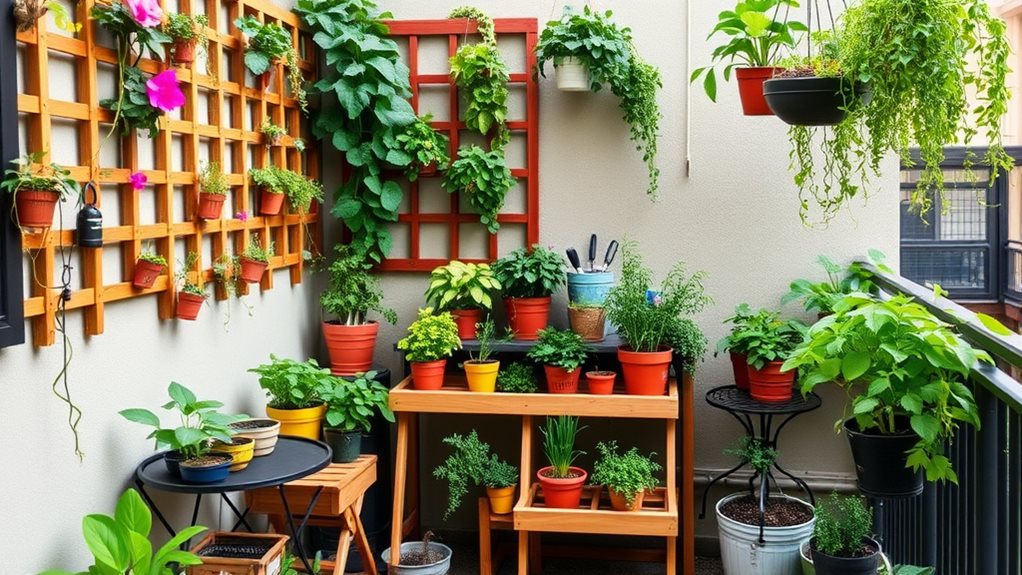
When your gardening aspirations exceed your available space, vertical gardening transforms limitations into opportunities. By growing upward instead of outward, you’ll enjoy better airflow, fewer weeds, and more efficient use of limited square footage. Many vertical systems can be created using materials you already have, making them budget-friendly options for apartments, balconies, or tiny yards. Consider installing decorative trellises for both functionality and aesthetic appeal in your compact outdoor space.
Vertical gardening turns space limitations into creative opportunities, maximizing yields while minimizing your footprint.
Try these approachable vertical options:
- Mount an old shoe organizer on a sunny wall, filling each pocket with herbs or lettuce
- Create a tiered planter from recycled wooden pallets lined with landscape fabric
- Install rain gutters along a fence for shallow-rooted crops like spinach and strawberries
Choose appropriate plants for your setup—climbing vegetables need trellises, while trailing flowers work beautifully in hanging baskets or wall-mounted containers. Stacked straw bales provide excellent drainage and can be secured with stakes for a stable vertical growing structure.
Creating Visual Appeal: Plant Selection and Arrangement
While anyone can place plants in soil, creating a garden with visual impact requires thoughtful selection and deliberate arrangement. Start by evaluating your site conditions—soil type, sunlight patterns, and drainage—to match plants to their ideal environments.
Consider these key principles:
- Group plants with similar water and light needs together
- Create contrast by pairing fine foliage (like ferns) with bold leaves (such as hostas)
- Limit your color palette to 3-4 complementary hues for a cohesive look
- Plan for year-round interest with staggered bloom cycles and winter features
- Include plants that serve multiple purposes, such as lavender for borders and fragrance
Native plants typically require less maintenance while supporting local ecosystems. Incorporating evergreen shrubs will maintain visual interest throughout all seasons, particularly during winter months. For those with limited space, consider container gardening as a versatile option that allows you to grow vegetables and ornamentals even in small areas. Remember to account for mature plant sizes to prevent overcrowding, which compromises both health and visual appeal.
Zone Planning: Organizing Your Garden for Efficiency
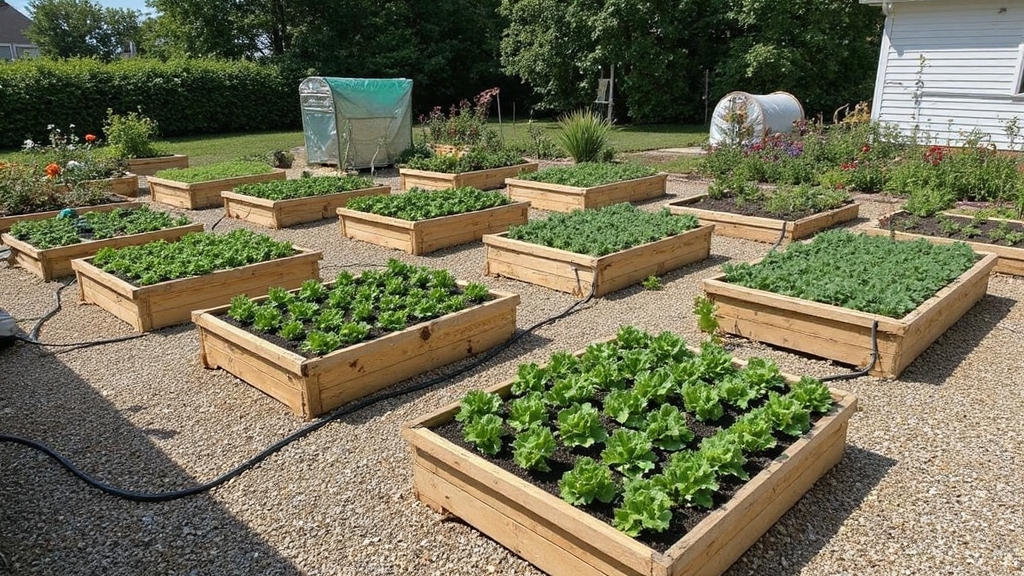
Rather than placing garden elements randomly, strategic zone planning transforms your outdoor space into a model of efficiency and productivity. This concept, originating from permaculture principles, organizes your garden based on how frequently you use each area.
Intentional placement through zone planning creates gardens that work with you, not against you.
Position daily-harvest items like herbs and leafy greens within 20 feet of your kitchen door, and place compost stations between zones 1-2 for easy access. Designing your garden with zonal planning principles allows flexibility to adapt around existing hardscape features. Always select a location that receives adequate sunlight for your plants to thrive, as most vegetables require at least 6-8 hours of direct sun daily.
- Create clear pathways – Design 18-24 inch paths between zones to prevent soil compaction and make harvesting easier
- Group plants by water needs – Position water-loving plants together near irrigation sources to reduce waste
- Use vertical space wisely – Maximize small areas by growing vines on trellises above ground-level plants
Essential Maintenance Strategies for New Gardeners
With your garden zones strategically planned, successful plant growth hinges on consistent, informed maintenance. Start by watering correctly—aim for 1 inch weekly, applied directly to the soil in early morning to maximize absorption and minimize fungal issues.
Feed your garden thoughtfully by enriching soil with compost and applying slow-release fertilizer every 4-6 weeks during growing seasons. Consider starting your own backyard composting system to create nutrient-rich material from kitchen scraps and yard waste. Test soil pH annually to guarantee it stays between 6.0-7.0 for most plants. Regularly check soil moisture by pushing your finger into the soil and water when the top inch feels dry.
Control unwanted visitors by:
- Removing weeds weekly
- Applying 2-4 inches of mulch
- Introducing beneficial insects like ladybugs
- Using neem oil for organic pest control
Don’t forget seasonal care—prune damaged branches monthly with clean tools, deadhead spent blooms regularly, and rotate vegetable crops yearly to prevent disease and soil depletion.
Frequently Asked Questions
How Do I Manage Garden Pests Without Using Chemical Pesticides?
You can manage garden pests without chemicals in several effective ways:
- Introduce beneficial insects like ladybugs and lacewings that eat pests
- Install physical barriers such as row covers to block pest access
- Apply organic treatments like neem oil or insecticidal soap
- Attract natural predators by adding bird baths and frog habitats
- Practice good garden hygiene by pruning damaged parts
Regular monitoring helps you catch problems early, while companion planting deters pests naturally.
When Is the Best Time to Start Seeds Indoors?
Start seeds indoors 6-8 weeks before your last spring frost date. You’ll need to:
- Check your local frost date first (May 1-10 for Illinois Zone 5)
- Adjust timing based on what you’re growing (tomatoes need 8-10 weeks, while lettuce needs just 3-4)
- Consider your specific microclimate, which might be warmer or cooler than regional averages
Don’t start too early, or you’ll have leggy seedlings that struggle after transplanting.
How Much Water Do Different Types of Plants Need?
Water requirements vary considerably among plants:
- Groundcovers: Need 0.5-9 gallons at 1-foot depth
- Shrubs: Require 1-20 gallons at 2-foot depth
- Trees: Need 1.5-235 gallons at 3-foot depth
- Vegetables: Water 3 times weekly to 6-12 inches deep
You’ll need to adjust based on your soil type. Use longer sessions for sandy soil, shorter but more frequent watering for clay soil.
Can I Mix Flowers and Vegetables in the Same Garden?
Yes, you can definitely mix flowers and vegetables in the same garden! This approach offers multiple benefits: flowers attract essential pollinators for your vegetables, certain flowers like marigolds naturally repel pests from your tomatoes, and the combination creates a beautiful, visually appealing space.
For best results, pair plants with similar growing requirements, and consider classic combinations like nasturtiums with cabbage or petunias with beans. You’ll enjoy both fresh produce and lovely blooms in one efficient space.
How Do I Test and Amend My Soil Properly?
To test your soil properly:
- Collect samples 6-8 inches deep from multiple garden spots
- Remove debris and let the soil dry
- Use a DIY pH kit or send to a lab for complete analysis
After testing, you’ll amend based on results:
- Add lime to raise pH or sulfur to lower it
- Incorporate compost to improve structure
- Apply specific fertilizers to address nutrient deficiencies
Conclusion
You’re now equipped with the essential knowledge to start your gardening adventure! Remember, successful gardens begin with thoughtful planning, appropriate containers, and smart space utilization. Select plants that work well together, organize your garden efficiently, and maintain consistent care routines. Don’t worry about perfection; gardens evolve over time. Start small, learn as you grow, and enjoy watching your green space transform into your personal outdoor sanctuary.