
Where to dig in?
Starting seeds indoors gives you earlier harvests, better plants, and more variety options. You’ll need containers with drainage, seed starting mix, grow lights, and humidity domes. Plant seeds at twice their depth, maintain consistent moisture, and position under proper lighting. When seedlings develop two sets of true leaves, begin thinning. About 1-2 weeks before outdoor planting, gradually harden off seedlings by increasing sun exposure daily. This complete process guarantees your garden starts with the strongest possible foundation.
Why Start Seeds Indoors: Benefits for Home Gardeners
Starting seeds indoors offers countless advantages for both novice and experienced gardeners alike. You’ll enjoy earlier harvests as seedlings grow faster in controlled environments, while also extending your growing season, especially in colder climates.
Indoor seed starting gives you better control over vital growth factors. You can maintain ideal temperatures for each crop type, manage moisture levels consistently, and adjust lighting to meet specific plant needs. This controlled environment leads to higher germination rates and more predictable results. Transplanted seedlings develop thicker, sturdier stems and broader leaves that show improved disease resistance and stress tolerance. Using soil with proper drainage components like perlite or pine bark ensures seedlings develop strong root systems from the start.
You’ll also save money compared to buying nursery seedlings, while gaining access to a wider variety of plants than local stores typically offer. The flexibility to start seeds at different times means you can plan for continuous harvests throughout the season, making the most of your garden space and resources.
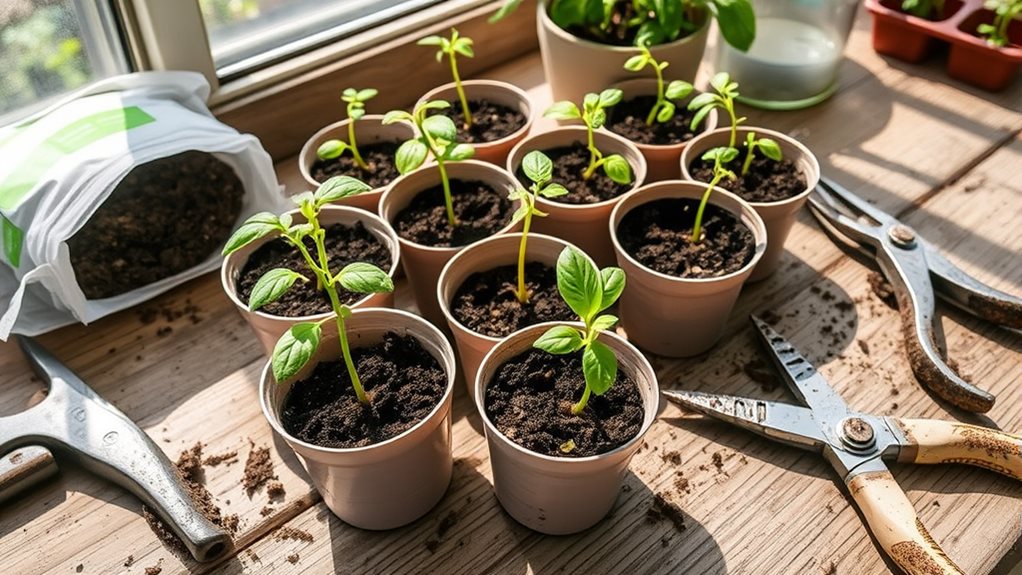
Essential Supplies and Equipment for Seed Basics Success

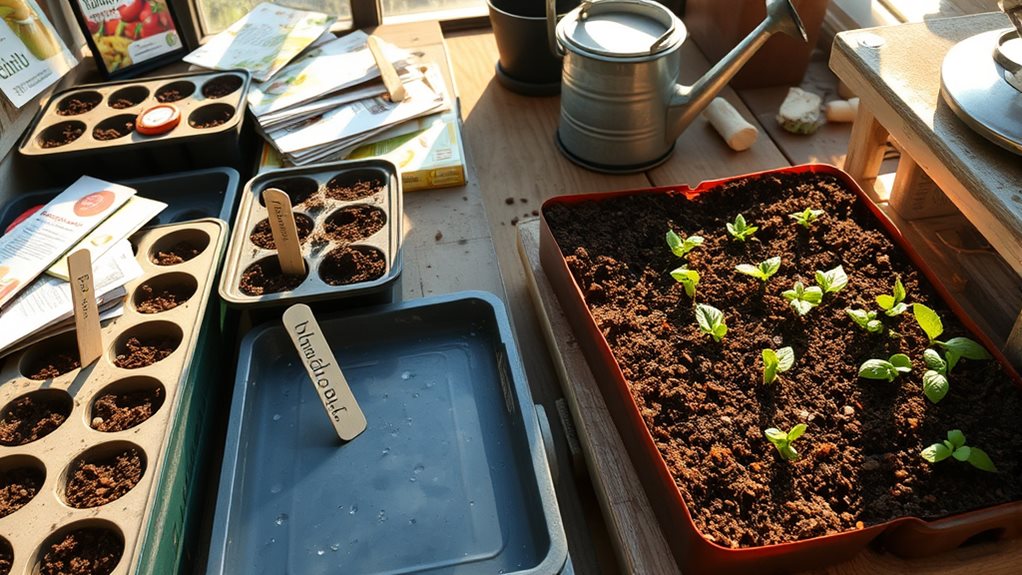
Now that you understand the benefits of indoor seed starting, let’s look at what you’ll need to get the job done right. Every successful seed-starting setup requires four main categories of supplies:
- Containers: Choose from seed starting trays, biodegradable pots, or even upcycled items like toilet paper tubes. Just guarantee they’ve proper drainage holes.
- Growing Medium: Use a specialized seed starting mix, not garden soil, to provide sterility and proper moisture retention for your seedlings. A homemade mix can be created with 4 parts compost, 2 parts coconut coir, 1 part vermiculite, and 1 part perlite. The quality of your growing medium is crucial, as different plants thrive in specific soil types based on their drainage and nutrient needs.
- Light Source: Either position trays near a south-facing window or invest in LED grow lights that you can adjust as plants mature.
- Environmental Controls: Add humidity domes to boost germination, use spray bottles for gentle watering, and consider heat mats to maintain ideal soil temperature.
Selecting the Right Seeds and Understanding Seed Packets
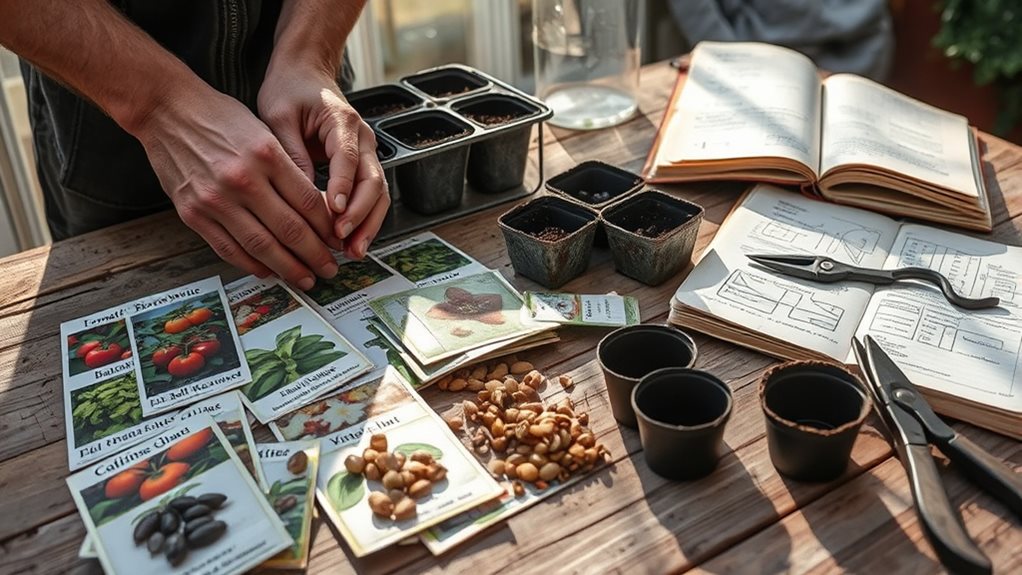
Every successful garden begins with carefully selected seeds and a thorough understanding of seed packet information. These small packets contain critical data about your future plants, including their scientific names, growth habits, and expected heights.
The foundation of gardening excellence lies in seed selection and decoding the wealth of information tucked within each packet.
When examining seed packets, pay attention to:
- Front details: Look for plant variety, light requirements, and special qualities
- Planting instructions: Note recommended depth, spacing, and perfect soil temperatures
- Timeline information: Check days to germination and maturity dates
- Hardiness zone compatibility: Guarantee the plant can thrive in your climate
For beginners, choose seeds labeled “easy-to-grow” or “beginner-friendly.” These varieties typically have higher germination rates and require less specialized care. Read the packet’s information about life cycles—annuals, biennials, or perennials—to match your garden’s long-term plans. Most packets also include the packaging date, which helps you assess seed viability before planting. Consider purchasing your seeds from trusted sources like Burpee or Baker Creek Heirloom Seeds to ensure quality and reliability in your gardening journey.
Step-by-Step Seed Sowing Techniques
Once you’ve selected the perfect seeds for your garden, mastering proper sowing techniques becomes your next crucial step toward successful plant growth. Whether you’re using containers indoors or sowing directly into your garden, following proper methods will substantially improve your germination rates.
Prepare your soil – Fill containers with seed-starting mix or prepare garden beds by removing debris and adding compost to improve texture.
Consider seed depth – Plant seeds at approximately twice their largest dimension, with larger seeds going deeper than smaller ones.
Space appropriately – Follow packet instructions for spacing, using row furrows outdoors or individual cells in trays.
Maintain moisture – Water gently after sowing to keep soil consistently moist but not waterlogged, which can cause seeds to rot.
Selecting a location with well-draining soil is essential for healthy seedling development and prevents root diseases that often plague new gardeners.
For optimal results, time your seed sowing carefully as spring is optimal for most garden plants, providing enough growing time before harvest while ensuring seedlings aren’t ready too early.
Creating the Perfect Environment for Germination
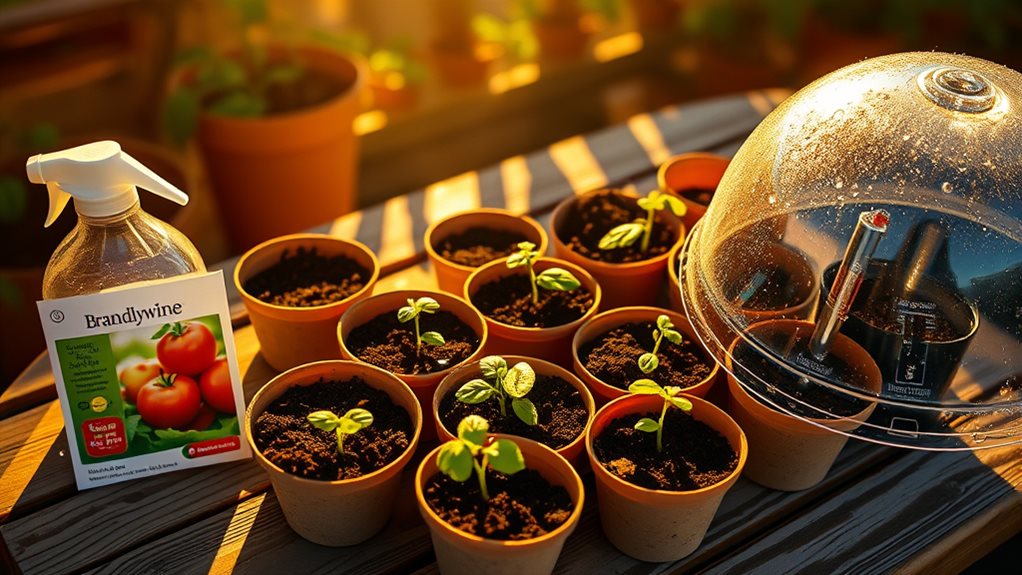
Successfully germinating seeds depends on creating ideal conditions that mimic nature’s perfect growing environments. Your seeds need a specific temperature range, typically between 45°F and 95°F, depending on the variety. Tomatoes prefer warmth (70-95°F), while spinach likes cooler conditions (45-75°F).
Maintain soil moisture at 50-75% of field capacity, avoiding both dryness and waterlogging. Remember, proper aeration is vital for oxygen access, so use loose, well-draining soil. Seeds will remain dormant or inactive until these optimal conditions are met. Before planting, ensure your chosen location receives adequate sunlight to support healthy growth once seeds germinate. Most seeds prefer darkness for germination, though some small-seeded varieties like Begonia need light.
Plant at the correct depth based on seed size:
- Large seeds: Plant deeper
- Small seeds: Barely cover
- Light-dependent seeds: Surface sow
Getting these elements right creates the perfect environment for your seeds to spring to life.
Daily Care Routines for Healthy Seedling Development
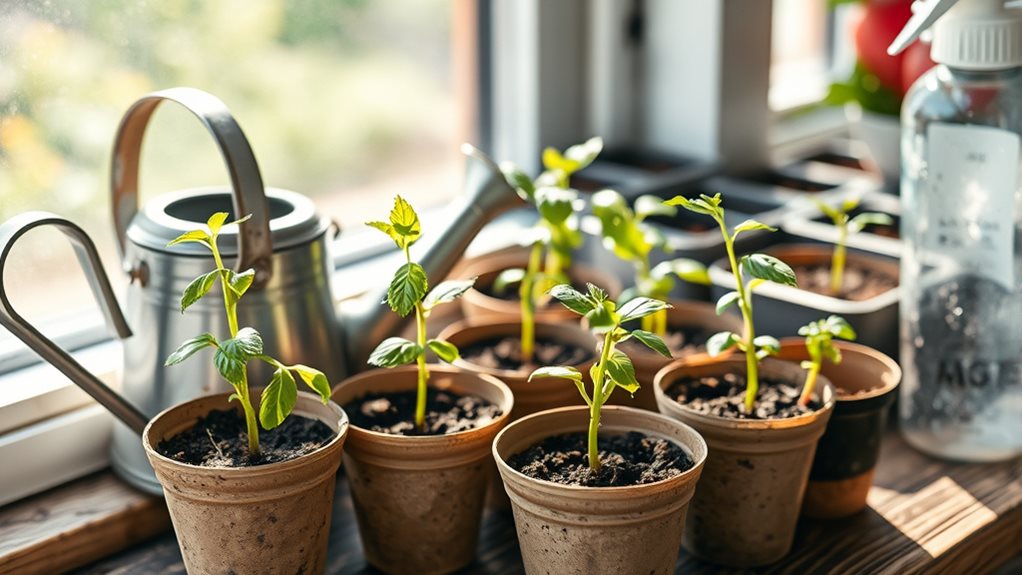
After your seeds have sprouted into tiny seedlings, they’ll need consistent daily attention to thrive. Your primary focus should be maintaining proper moisture, light, airflow, and nutrition for ideal growth.
Water carefully by checking soil moisture daily and switching to bottom-watering once seedlings appear. Keep trays half-full to prevent overwatering, which can cause damaging root rot. Consider growing easy starter plants like grape tomatoes, lettuce, herbs, and radishes when you’re ready to transplant your seedlings.
Manage lighting by positioning grow lights about 2 inches above seedlings for 14-16 hours daily, using timers for consistency. Aim to maintain soil temperature between 65-75°F for optimal seedling development during the first few weeks after sprouting.
Ensure proper ventilation with gentle air circulation to prevent fungal diseases, and thin seedlings when they develop two sets of leaves.
Monitor for problems by watching for pest infestations and disease symptoms, applying organic treatments like neem oil or cinnamon for prevention.
Preparing Seedlings for Life in the Garden
The shift from cozy indoor conditions to the harsh realities of garden life requires careful preparation of your seedlings. This conversion period, called “hardening off,” helps prevent transplant shock and strengthens plants for outdoor survival. Skipping this critical step could result in complete seedling loss when transplanting directly outdoors.
Hardening Off Timeline
- Begin 1-2 weeks before planting outside
- Start with 1-2 hours of morning sun in a protected location
- Gradually increase exposure by 1-2 hours daily
- Bring plants indoors at night, especially if temperatures drop below 45°F
- By day 7-10, seedlings should handle full-day exposure
Monitor your plants closely for signs of stress like wilting or yellowing leaves. Different plants have different needs—cold-hardy varieties tolerate the process better than sensitive ones like cucumbers and melons. Reduce watering frequency during hardening, but don’t let plants wilt completely. Consider starting with simple crops like grape tomatoes or herbs in pots for an easier introduction to seedling care.
Frequently Asked Questions
How Do I Fix Leggy Seedlings?
To fix leggy seedlings:
- Add more light immediately by placing them under grow lights or in a brighter window
- Adjust temperatures lower to slow stretching
- Run a gentle fan to strengthen stems
- Brush your hand lightly over seedlings daily to simulate wind
- Space them properly to reduce competition
You’ll need to transplant them deeper when repotting, which helps develop stronger root systems from the buried stem portion.
Can I Reuse Old Potting Soil for Starting Seeds?
You can reuse old potting soil for starting seeds, but you’ll need to prepare it properly first. Sterilize the soil by baking it at 180°F for 30 minutes or sealing it in a black plastic bag in the sun for 1-2 weeks.
Then, refresh it by mixing in compost or new potting mix (about 25-50%). Always check that the old soil didn’t support diseased plants before reusing it for delicate seedlings.
Why Aren’t My Seeds Germinating?
Your seeds mightn’t be germinating due to several possible issues:
- Environmental factors – check if soil temperature is too low, moisture levels are incorrect, or light exposure is inadequate
- Seed quality – old or improperly stored seeds have lower viability
- Soil conditions – compacted soil restricts oxygen, while poor drainage causes rot
- Pests and diseases – damping off disease is common in seedlings
Try using fresh seeds in sterile, well-draining soil with appropriate moisture and temperature for best results.
How Do I Prevent Damping-Off Disease?
To prevent damping-off disease:
- Use sterile seed-starting mix, not garden soil
- Sanitize all containers with a 10% bleach solution
- Don’t overwater your seedlings – keep soil moist but not soggy
- Ensure good air circulation by avoiding overcrowded trays
- Maintain temperatures between 65-70°F for supreme germination
- Apply a thin layer of sand or vermiculite on the soil surface
When Should I Start Fertilizing My Seedlings?
Wait until your seedlings develop their second set of true leaves before fertilizing. This typically happens when they’re about 2 inches tall. At this stage:
- The initial nutrients from the seed are depleted
- Root systems are established enough to handle fertilizer
- Cotyledon leaves will begin fading
If you’re using nutrient-rich potting mix, you can delay fertilizing. When you start, use a diluted, water-soluble fertilizer weekly, applying at half the recommended strength to prevent root burn.
Conclusion
You’re now equipped to start your seed-growing journey! Remember, successful gardening comes from practice, patience, and close observation. Don’t be discouraged by early failures, as they’re valuable learning opportunities. Keep your supplies organized, follow the germination guidelines for each plant type, and maintain consistent care routines. With these fundamentals mastered, you’ll soon be transplanting healthy seedlings into your garden and enjoying the rewards of starting from seed.