
Where to dig in?
Composting transforms your kitchen scraps and yard waste into rich soil through a natural biological process. You’ll need to balance “greens” (nitrogen-rich materials like vegetable scraps) with “browns” (carbon-rich items like dried leaves) in a 1:2 ratio. Place your compost bin in a partially sunny spot, maintain moisture like a wrung-out sponge, and turn it every 1-2 weeks. Proper maintenance prevents odors and speeds decomposition. The following sections will guide you through setup to harvest.
What Is Composting and Why Does It Matter?
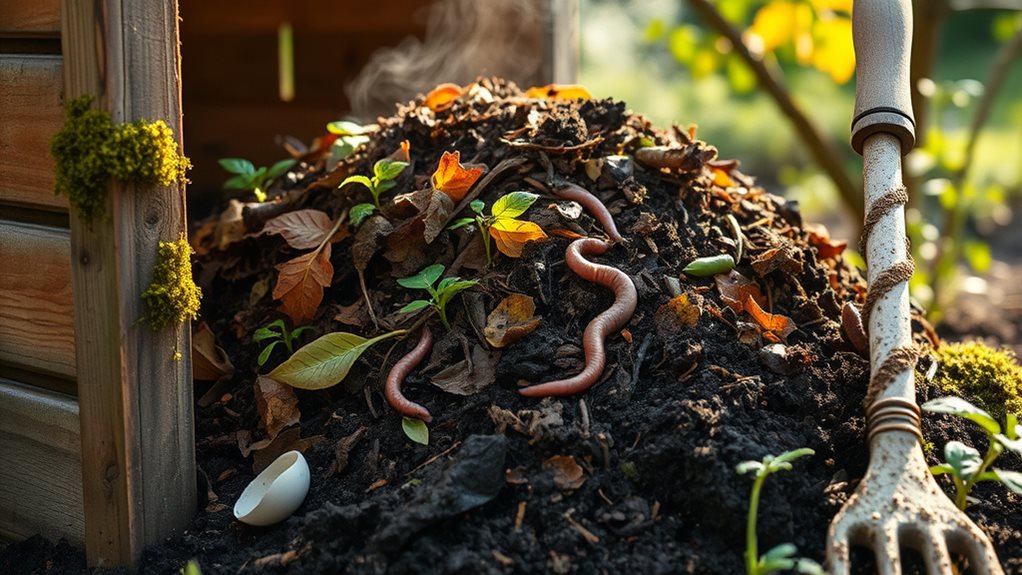
Three essential principles define composting: transformation, sustainability, and renewal. When you compost, you’re participating in nature’s recycling program, converting kitchen scraps and yard waste into nutrient-rich soil. This biological process relies on microorganisms breaking down organic materials that would otherwise end up in landfills.
Composting transforms waste into wealth, embodying nature’s elegant cycle of continuous renewal
Your composting efforts:
- Reduce landfill waste and methane emissions
- Create valuable soil amendment for your garden
- Help sequester carbon, fighting climate change
- Decrease reliance on chemical fertilizers
- Conserve water through improved soil moisture retention
Compost enhances soil structure by creating a network that binds soil together, preventing erosion and building healthier landscapes. A successful compost pile requires a proper balance of green and brown materials to provide the nitrogen and carbon needed for efficient decomposition.
The Art of Balancing Greens and Browns
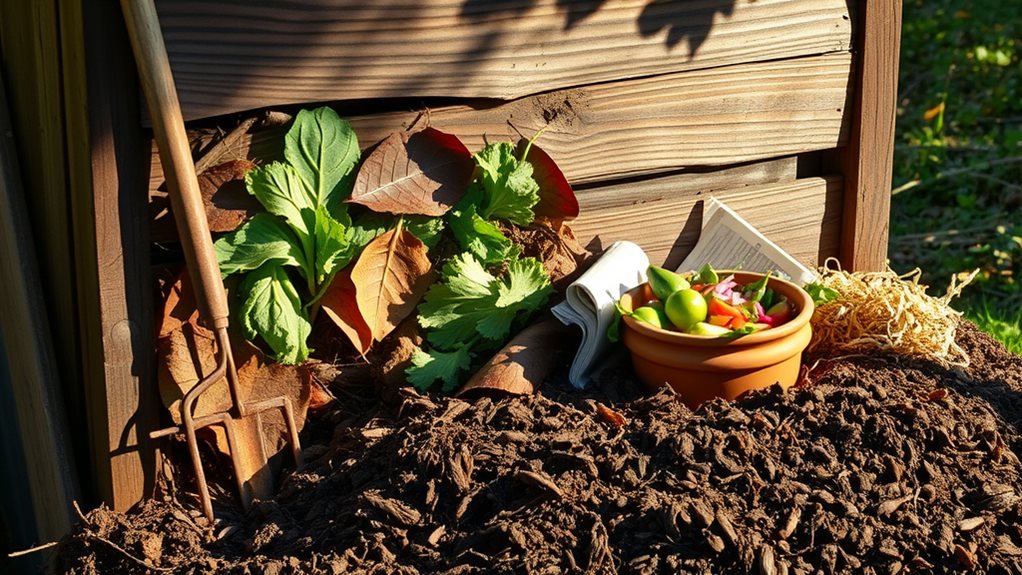
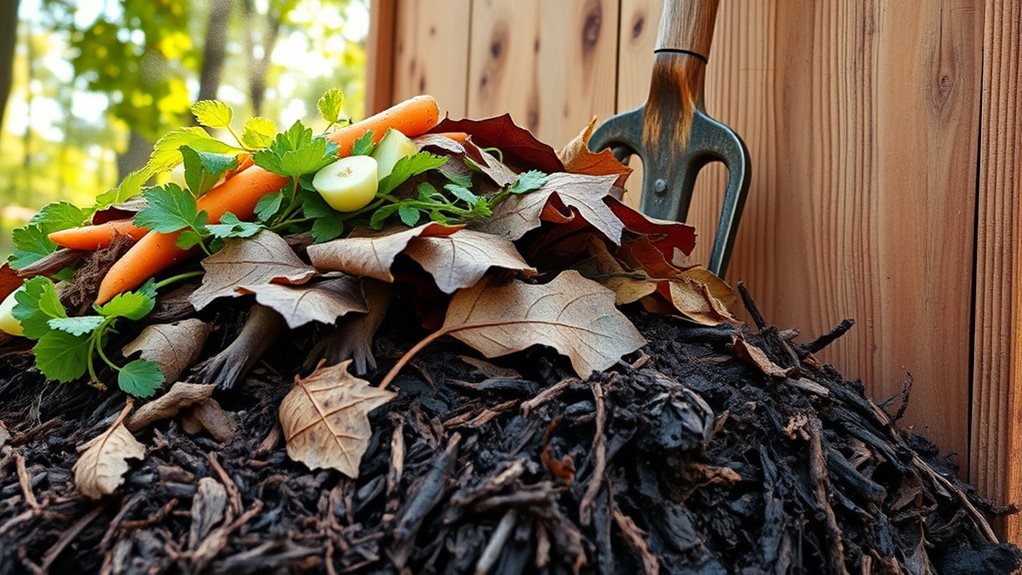
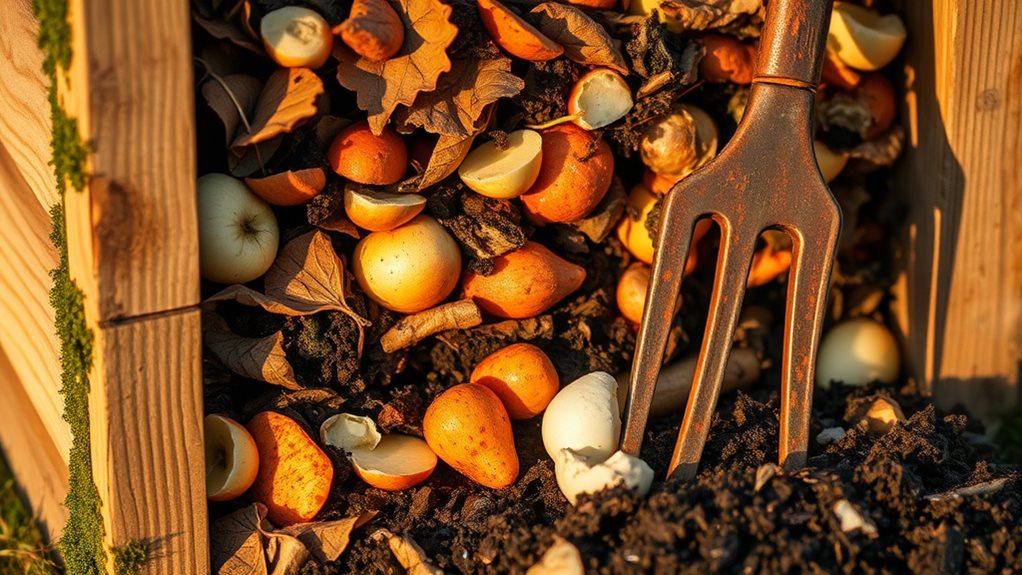
Successful composting boils down to striking the right balance between two key ingredients: greens and browns. Greens (nitrogen-rich materials like vegetable scraps and grass clippings) provide nutrients and moisture, while browns (carbon-rich items such as leaves and cardboard) supply energy and create structure.
Aim for a brown-to-green ratio of 2:1 to 4:1 by volume, adjusting as needed based on your specific materials. The optimal C:N ratio for hot composting is between 20:1 and 30:1, which you can achieve through proper mixing. Too many greens creates a smelly, slimy pile, while excess browns impedes decomposition. Your compost should feel like a damp sponge—moist but not soggy. For faster decomposition results, consider using a hot composter like the Hotbin Mk. 2 which includes a temperature gauge to monitor your pile’s progress.
Try these simple techniques:
- Layer browns and greens alternately
- Monitor moisture regularly
- Turn your pile every few weeks
- Incorporate diverse materials for better balance
Setting Up Your First Compost Pile

Now that you understand the balance between greens and browns, it’s time to put that knowledge into action by setting up your first compost pile. Start with these simple steps:
Mastering the green-brown balance is the gateway to successful composting—now let’s build your first pile!
- Choose a location with 3-4 hours of sun and good airflow
- Select an accessible bin that allows for easy turning
- Create a base layer of twigs or mulch for drainage
- Layer your collected browns and greens in alternating fashion
- Insert garden stakes or pipes vertically for better air circulation
- Add a thin layer of soil or finished compost on top
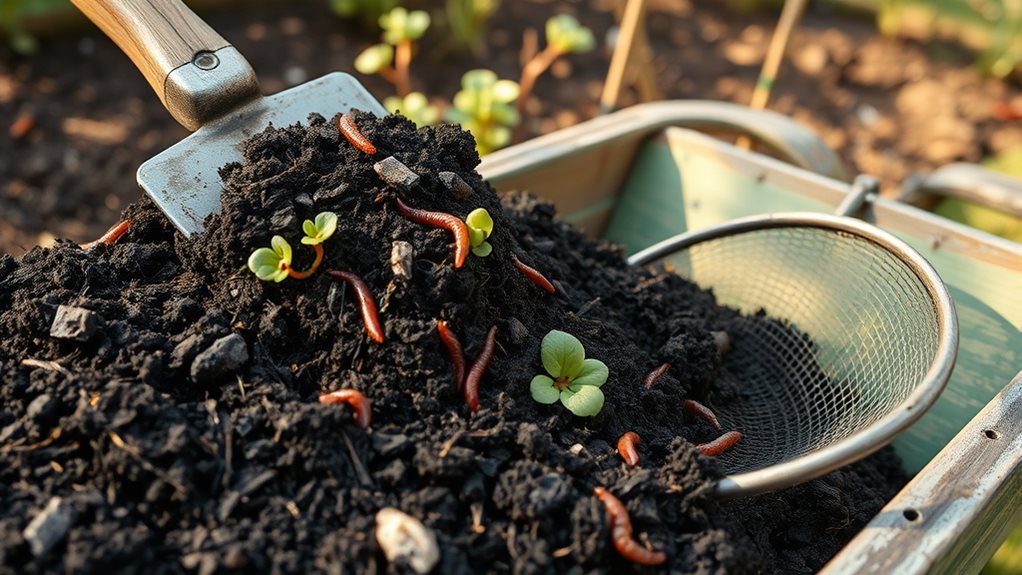
Remember to keep materials small for faster decomposition, and maintain moisture like a wrung-out sponge. Your bin size should match your available space and the volume of materials you’ll be composting. If you prefer a more natural approach, a simple heap is sufficient as Mother Nature doesn’t require containers for effective decomposition. A quality garden trowel will be invaluable for turning smaller compost piles and transferring finished compost to your garden beds.
Essential Maintenance for Successful Decomposition
While building your compost pile marks an exciting first step, preserving proper conditions guarantees your organic materials transform into rich, usable compost.
Maintain moisture like a wrung-out sponge—just 1-2 drops when squeezed. Add water if it’s too dry or use aeration tools if too wet. Consider using a mulch layer on top of your compost pile to help retain moisture and enhance microbial activity.
Turn your pile every 1-2 weeks to introduce oxygen, which prevents anaerobic conditions and unpleasant odors. Use a garden fork or aerator tool for best results. A complete decomposition cycle takes 2-4 months if turned regularly, or more than 6 months if left untouched.
Balance your materials by combining:
- Browns (carbon-rich): leaves, cardboard, straw
- Greens (nitrogen-rich): vegetable scraps, grass clippings
- Aim for a 30:1 carbon-to-nitrogen ratio
Avoid meat, dairy, eggs, and weedy plants with seeds. Monitor regularly for odors, moisture levels, and temperature changes.
Troubleshooting Common Composting Challenges
Even the most carefully maintained compost piles face occasional problems, but you’ll find most issues have simple solutions. Let’s address the most common challenges you might encounter.
Managing Odors
- Ammonia smell? Add carbon materials like leaves or straw to balance excess nitrogen.
- Rotten egg odor? Your pile needs air—turn it thoroughly and add bulking agents.
Fixing Moisture Problems
- Too dry? Water while turning to distribute moisture evenly.
- Too wet? Add dry browns and aerate to create better conditions.
Temperature and Breakdown Issues
- Not heating up? Check pile size (should be at least 3 feet in all dimensions) and nitrogen levels.
- Slow decomposition? Shred resistant materials like eggshells, and break up matted clumps of grass clippings.
Adding finished compost to loamy soil creates an ideal growing environment with excellent drainage and moisture retention for most garden plants.
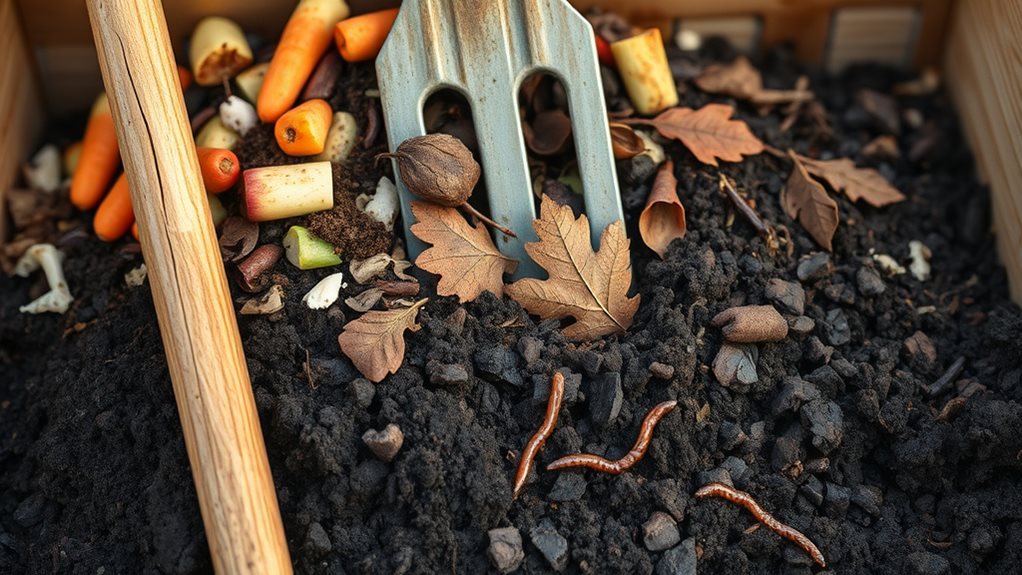
Harvesting and Using Your Finished Compost
After months of patience and care, your compost heap will eventually transform into dark, crumbly material that’s ready to use. You’ll know it’s finished when it smells earthy, feels like a damp sponge, and has a rich, brown-black color.
How to Harvest Your Compost
- Choose the right time – autumn is ideal for harvesting garden compost
- Use proper tools like a Compost Mate or corkscrew to extract mature material
- Remove compost from the bottom or middle of your pile, where it’s most mature
- Store excess compost in airtight containers in a cool, dry place
Your finished compost can enrich vegetable gardens, improve potting soil, serve as mulch, or be brewed into compost tea. For best results, mix it into your garden soil before planting or layer it around established plants. For potted plants and indoor gardening, you can create an enriched growing medium by adding up to 25% compost to your potting mix. Spring is an excellent time to incorporate your finished compost during soil preparation as you amend your garden beds with organic matter.
Environmental Benefits of Home Composting
When you compost at home, you’re doing much more than creating free fertilizer for your garden. You’re actively fighting climate change by reducing methane emissions from landfills and sequestering carbon in soil. Your composting efforts decrease waste sent to landfills, extending their useful life and conserving valuable land resources.
Home composting improves soil health by adding organic matter that enhances structure and fertility. The compost you create helps soil retain moisture, reducing water needs in your garden while preventing erosion. Better soil means less runoff into waterways, improving water quality downstream. By composting, you’re reducing dependence on chemical fertilizers while helping recover soil fertility. Unlike synthetic options, compost provides organic nutrients that release slowly and support long-term soil health.
You’re also supporting the local economy by participating in sustainable practices that create green jobs. Every bucket of kitchen scraps you compost reduces your carbon footprint and contributes to a more resilient environment for future generations.
Frequently Asked Questions
Can I Compost in an Apartment or Small Urban Space?
Yes, you can definitely compost in an apartment or small urban space! You’ve got several options: try vermicomposting with worms in a compact bin, use a bokashi system under your sink, or join a community composting program.
Indoor composting requires minimal space, reduces your waste footprint, and gives you nutrient-rich soil for houseplants. Just choose the right method for your space constraints, maintain it properly to avoid odors, and you’ll be composting successfully.
How Do Composting Worms Differ From Regular Earthworms?
You’ll notice composting worms (like red wigglers) are smaller and reddish-brown, while earthworms are larger and earthy brown. Composting worms thrive in decaying organic matter at the surface, reproducing quickly in dense populations.
In contrast, earthworms prefer living deeper in soil, aerating it as they tunnel. Both produce valuable castings, but composting worms process food scraps much faster, making them ideal for your indoor compost bin.
Does Compost Attract Unwanted Wildlife to My Yard?
Yes, compost can attract wildlife if you’re not careful. You’ll find bears, raccoons, and rodents visiting your pile when you compost meat, dairy, or oils that create strong odors.
To prevent this, you should:
- Avoid adding animal products
- Bury food scraps 8+ inches deep
- Use enclosed bins with secure lids
- Mix kitchen waste with soil or ashes
- Turn your compost regularly
These simple steps help maintain a wildlife-free composting experience in your yard.
Can Diseased Plants Be Safely Added to Compost Piles?
You can compost diseased plants, but you’ll need to take precautions. Your compost pile must reach 131°F-170°F for several days to kill pathogens.
Don’t compost plants with serious soil-borne diseases like clubroot. Add diseased material only to hot, active compost piles, and guarantee proper layering and aeration. Monitor temperature regularly with a compost thermometer.
When done correctly, composting can actually help eliminate plant diseases while creating valuable soil amendment.
How Does Winter Weather Affect the Composting Process?
Winter drastically slows your composting process as temperatures drop below 50°F. You’ll notice:
- Reduced microbial activity when temperatures fall, especially below freezing
- Moisture challenges from dry winter winds
- Heat loss that inhibits decomposition
To maintain your compost during winter:
- Add insulation like straw or leaves around your pile
- Don’t turn the pile frequently, as this releases valuable heat
- Monitor moisture levels, keeping the pile damp like a wrung-out sponge
- Place your bin in a sheltered location
Conclusion
You’re now equipped to turn kitchen scraps and yard waste into garden gold! Remember, composting isn’t just good for your plants, it’s a powerful way to reduce waste and fight climate change from your own backyard. Start small, maintain balance, and soon you’ll master the art of decomposition. As you spread your homemade compost through your garden, take pride in completing nature’s cycle and growing healthier plants while protecting our planet.