
Where to dig in?
You’ll need to choose a bin that fits your space—enclosed bins for small areas, stationary bins for larger yards. Start with a 3:1 ratio of browns (dried leaves, cardboard) to greens (food scraps, grass clippings), and place your bin in a partially shaded area. Keep the pile as moist as a wrung-out sponge, and turn it every 1-2 weeks for proper aeration. The following sections will transform you into a composting expert.
Types of Basic Compost Bins for Home Use
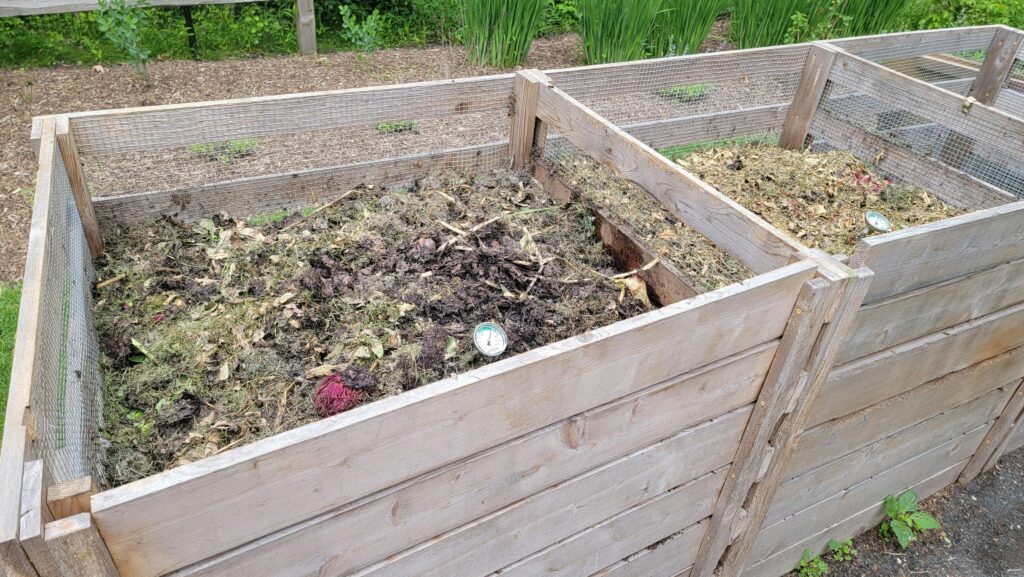
When you’re ready to start composting at home, choosing the right bin type is your first important step. Several options are available to match your space and needs.
Enclosed bins retain moisture and heat while keeping pests away, making them perfect for small spaces. Stationary bins offer large capacity for households with lots of organic waste, and some models don’t require turning. The Green Johanna 330 Litre Hot Composter is especially versatile for processing both food and garden waste while being made from recycled materials.
Enclosed composters create the perfect environment for decomposition, while stationary models handle high volumes without constant maintenance.
If you’re looking for user-friendly options, tumbling bins allow easy mixing that speeds decomposition, while dual-chamber models let you process different batches simultaneously. Food waste digesters provide an excellent solution for households that want to reduce kitchen waste without harvesting compost, as they break down approximately 90% of waste into liquid that soaks into the ground.
For indoor composting, worm composters produce nutrient-rich compost with minimal odor, ideal for apartments. Multi-tiered composters efficiently use vertical space and allow you to manage different composting stages at once, with easy access for harvesting finished compost.
Selecting the Ideal Bin for Your Garden
Choosing the perfect compost bin for your garden involves more than simply picking the first option you see. You’ll need to match the bin size to your yard space, considering both current and future gardening needs.
First, assess your waste generation patterns:
- Small spaces like balconies work well with compact bins
- Larger yards with extensive gardens require bigger composting systems
- Kitchen waste needs enclosed containers with good aeration
Next, consider practical factors:
- Select a bin that complements your garden’s design
- Guarantee easy access for maintenance
- Check neighborhood regulations before installation
- Choose a system that won’t attract vermin or pests to your property
The ideal bin should allow for proper aerobic decomposition which occurs when microorganisms break down organic material in the presence of oxygen.
Finally, weigh budget against durability. Quality materials might cost more initially but require less maintenance and last longer. Look for features like proper ventilation and pest resistance to maximize your composting success.
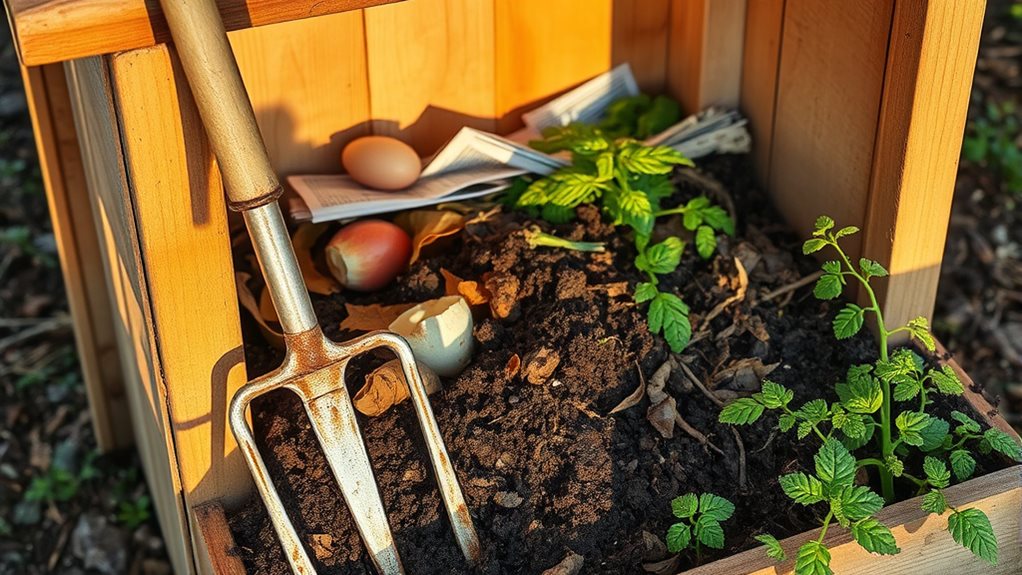
Essential Materials for Effective Composting
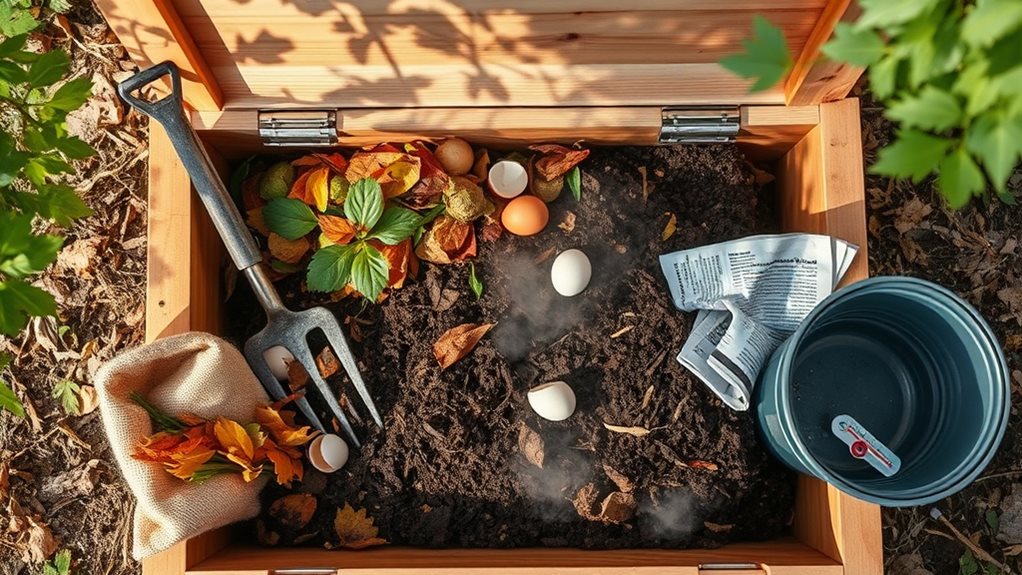
Successful composting relies on the right balance of materials that work together to break down organic waste. You’ll need to mix “greens” and “browns” to create the ideal environment for decomposition, ensuring proper carbon-to-nitrogen ratios.
The magic of composting lies in balancing greens and browns, creating nature’s perfect recipe for transformation.
For your compost bin, gather these essential materials:
- Nitrogen-rich greens: Fresh grass clippings, vegetable scraps, coffee grounds, and fruit peels
- Carbon-rich browns: Dried leaves, shredded cardboard, newspaper, and straw
- Structural additives: Wood chips or coconut coir to improve airflow
- Calcium sources: Crushed eggshells to balance acidity
- Microbial enhancers: Compost tea or worm castings to accelerate decomposition
Remember to maintain moisture similar to a wrung-out sponge, and turn your pile regularly to introduce oxygen. Unlike hydroponics systems that eliminate soil entirely, composting creates rich soil amendments from organic materials. Avoid adding meat, dairy, or oils to your compost bin as these can attract pests and slow microbial activity. The right materials, properly managed, will transform into rich, garden-ready compost.
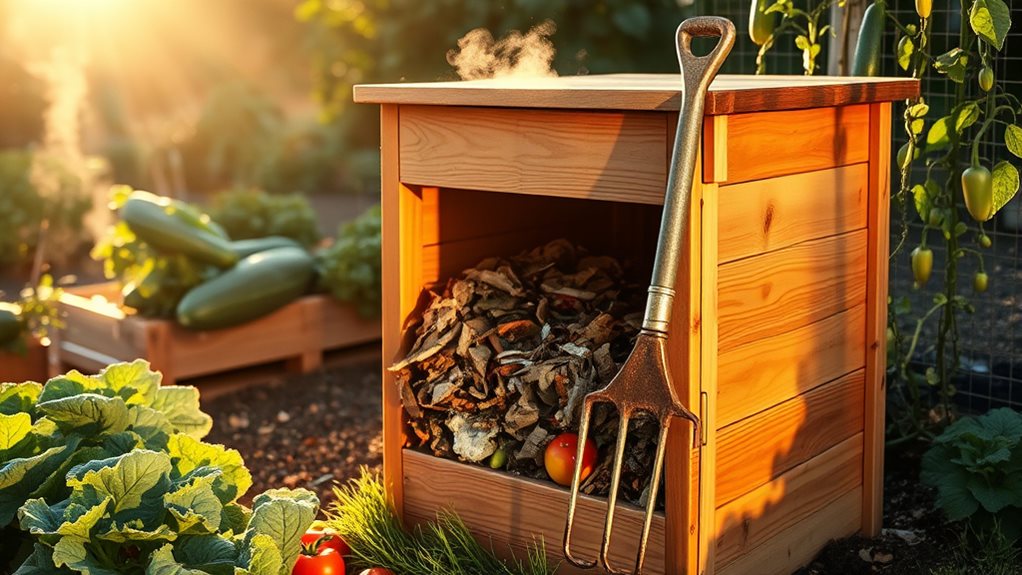
Setting Up Your First Compost Bin
The journey to successful composting begins with properly setting up your bin in the right location. Choose a spot on bare soil, which allows for drainage and welcomes beneficial organisms into your compost. A partially shaded, sheltered area works best to maintain consistent conditions. This approach aligns with soil structure preservation principles found in sustainable gardening methods.
Placement Steps:
- Clear a patch of ground in your yard, exposing the soil
- Select a location that’s easy to access, encouraging regular use
- Position your bin away from direct sunlight to prevent excessive drying
- If you must use a hard surface, add several scoops of soil to the bottom
When constructing your bin, consider using wood, plastic, or even repurposed pallets. Larger bins (over 1 cubic meter) typically work more efficiently, while multiple bins allow you to manage compost at different stages. Placing cardboard on the base helps prevent unwanted weed growth through your compost setup.
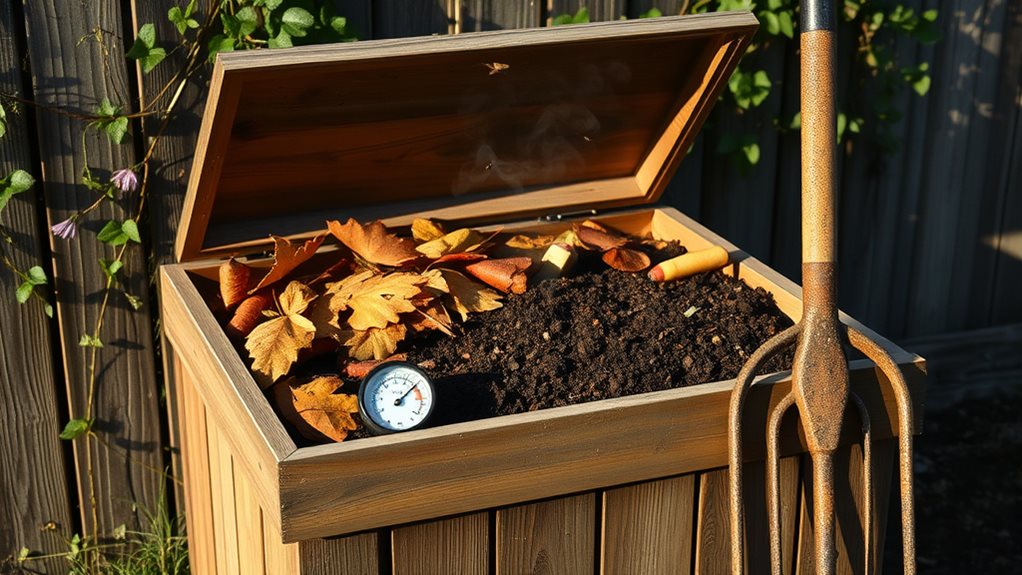
Maintaining the Perfect Compost Balance
Four essential elements create the foundation for successful composting: carbon, nitrogen, moisture, and oxygen. Balancing these elements will transform your yard waste into rich, garden-ready compost in just a few months.
To maintain the ideal balance in your bin:
- Mix 3 parts “browns” (leaves, paper) to 1 part “greens” (food scraps, grass) to achieve the perfect 30:1 carbon-to-nitrogen ratio
- Keep your pile as moist as a wrung-out sponge, adding water when it feels dry
- Turn your compost every 1-2 weeks with a pitchfork to incorporate oxygen
- Monitor temperature, aiming for 130-140°F in the center to kill pathogens
- Check for even decomposition, adjusting ingredients if progress slows
Regular monitoring helps you catch imbalances early, ensuring your composting efforts succeed with minimal odor or pest issues. Remember that composting has plenty of wiggle room and is more forgiving than precise activities like baking. When finished, your nutrient-rich compost can be mixed with loamy soil to create an ideal growing environment for a wide variety of garden plants.
Troubleshooting Common Composting Problems
Even well-maintained compost piles can develop issues, but most problems have simple solutions. If you notice unpleasant odors, your pile may be too wet or lacking oxygen. Turn it more frequently, and add dry materials like straw to absorb excess moisture. As Noah Sanders recommends through his Redeeming the Dirt ministry, a stinky compost pile typically indicates an anaerobic situation that needs more oxygen.
When your compost is matting or clumping, it’s usually due to poor aeration. Break up these clumps with a pitchfork, and mix in coarse materials to improve structure. Using a garden broadfork can dramatically improve aeration and help break up compacted areas of your compost pile. For pest problems, avoid adding meat, dairy, or oily foods, and consider covering your bin with a secure lid.
Slow decomposition often results from imbalanced ingredients or insufficient turning. Maintain a proper carbon-to-nitrogen ratio by mixing browns (dry leaves, paper) with greens (food scraps, grass), and turn your pile regularly to introduce oxygen and accelerate the process.
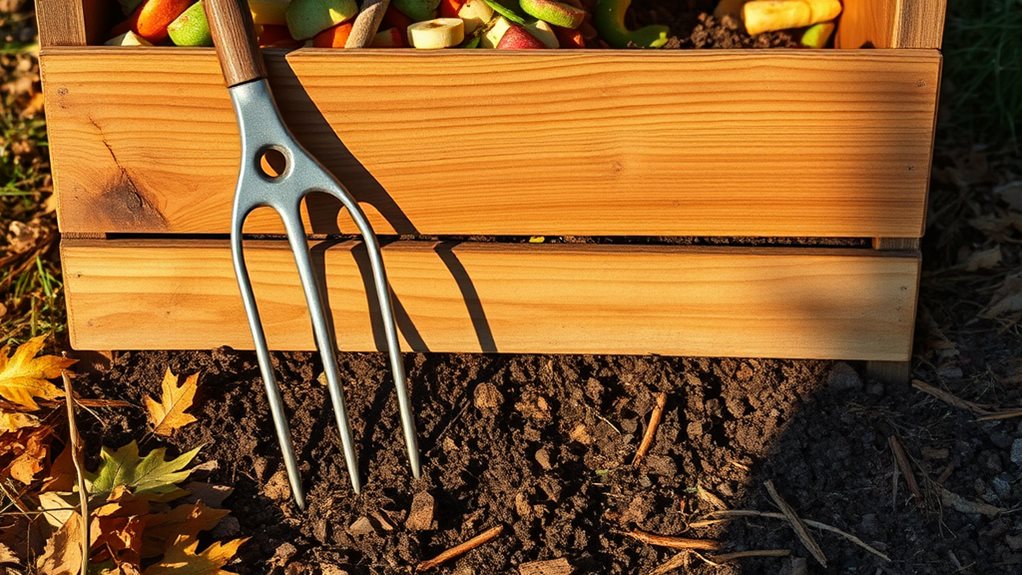
Harvesting and Using Your Finished Compost
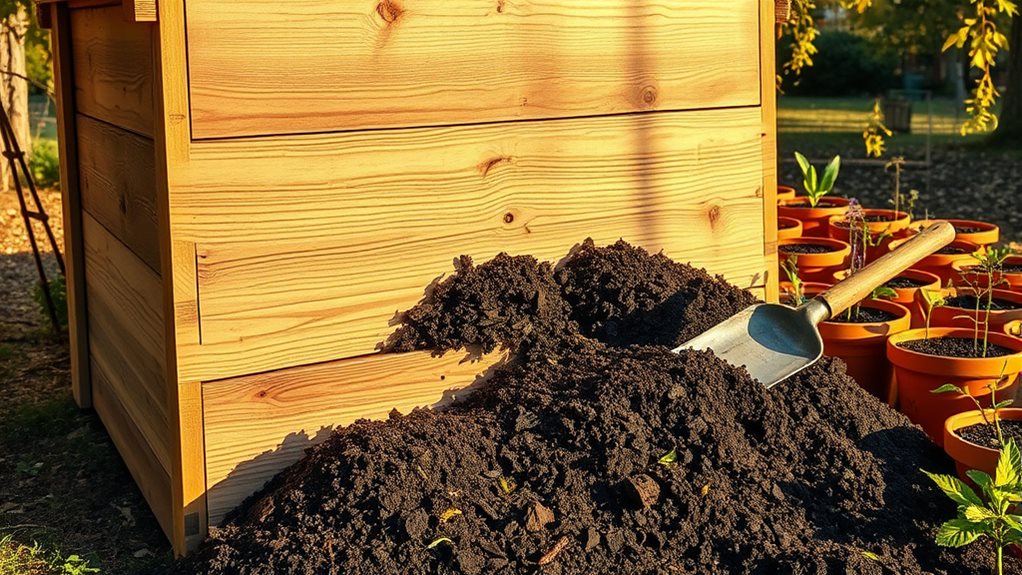
After months of careful tending, your compost will eventually transform into a dark, crumbly treasure that’s ready to harvest. You’ll know it’s mature when it smells earthy, has a soil-like texture, and no longer contains recognizable scraps. Autumn is an ideal time to collect your finished compost, using a shovel or garden fork to extract it.
Patience transforms kitchen waste into garden gold—the dark, earthy reward of composting awaits your harvest.
Once harvested, your nutrient-rich compost can benefit your garden in multiple ways:
- Mix it into garden soil to improve structure and add nutrients
- Spread as a 2-3 inch mulch layer to suppress weeds
- Blend with potting soil for container plants
- Create compost tea by steeping in water for liquid fertilizer
- Use as a starter medium for seeds and seedlings
For the best results, apply a 1-3 inch layer of compost and incorporate it into the top 4-8 inches of soil before planting. When incorporating compost, ensure you’re working in a sunny location with well-draining soil for optimal vegetable garden performance.
Store any extra compost in breathable containers, keeping it slightly moist until needed.
Environmental Benefits of Backyard Composting
Beyond creating nutrient-rich soil for your garden, backyard composting offers significant environmental benefits that extend far beyond your property line. When you compost at home, you’re helping reduce methane emissions from landfills, where organic waste would otherwise decompose and release harmful greenhouse gases.
Your composting efforts directly combat climate change by diverting waste from landfills and eliminating the need for waste transportation. The finished compost improves soil structure, preventing erosion and enhancing water retention, which means you’ll need less frequent watering in your garden. Additionally, compost reduces the need for chemical fertilizers and pesticides, improving both soil and water quality in your community.
Backyard composting produces nutrient-packed humus that infuses new life into landscapes, supporting vibrant plant growth naturally. Incorporating a composting system pairs perfectly with native plant gardens for a truly sustainable and low-maintenance outdoor space. By composting, you’re participating in a sustainable waste management practice that creates jobs and saves municipal disposal costs.
Frequently Asked Questions
How Long Does It Take for Compost to Be Ready?
Your compost will typically be ready in 2-6 months, depending on several key factors. You’ll see faster results when you:
- Maintain proper moisture (like a damp sponge)
- Turn your pile regularly for aeration
- Balance “browns” and “greens” in a 2:1 ratio
- Keep smaller particle sizes
Look for dark, crumbly material with an earthy smell as signs of readiness. Warmer temperatures, both ambient and within the pile, will considerably accelerate this process.
Can I Compost in Winter When Temperatures Drop Below Freezing?
Yes, you can compost in winter, even below freezing. Your compost will slow down dramatically but won’t stop completely. To maximize winter decomposition:
- Build a larger pile (at least 3 cubic feet) to retain heat
- Insulate with straw or cardboard around your bin
- Turn less frequently (every 3-4 weeks)
- Keep adding materials, which will simply freeze and decompose in spring
Don’t worry if activity pauses—this is normal, and microbes will reactivate when temperatures rise.
Do Compost Bins Attract Rodents and Other Pests?
Yes, compost bins can attract rodents and pests if not managed properly. Food scraps, warmth, and shelter make your bin appealing to unwanted visitors.
You’ll prevent problems by:
- Using rodent-proof bins with wire mesh
- Securing lids tightly
- Avoiding meat, dairy, and oily foods
- Turning compost regularly to reduce odors
These simple steps help you maintain a pest-free composting system while still creating valuable soil for your garden.
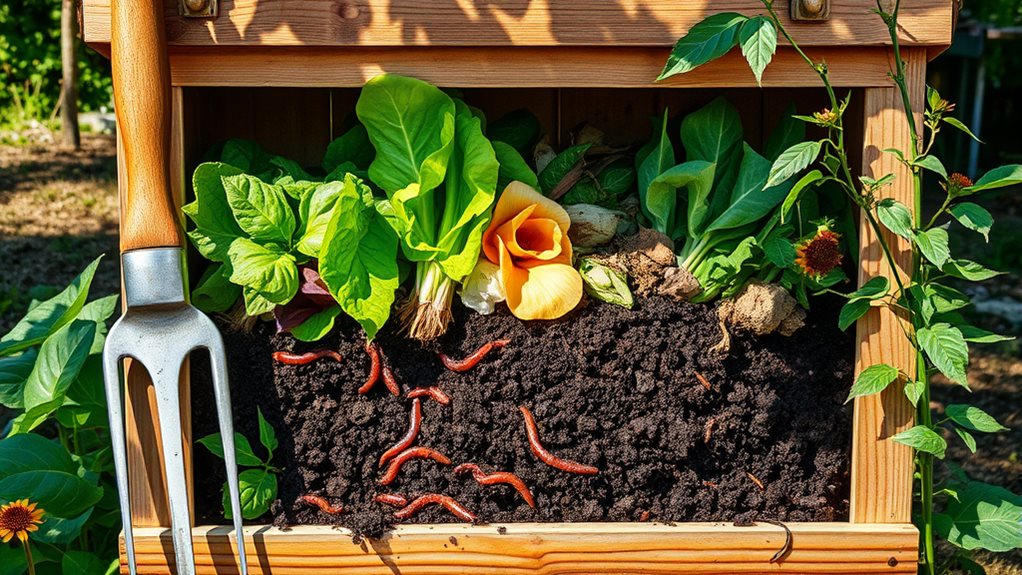
Is It Necessary to Add Worms to My Compost Bin?
No, it’s not necessary to add worms to your compost bin, but they provide several advantages. You can create good compost without them through natural decomposition.
However, adding worms will:
- Accelerate the composting process
- Reduce odors in your bin
- Create nutrient-richer vermicompost
If you choose to add worms, red worms work best as they consume up to half their body weight daily, transforming your food scraps into premium compost faster.
How Does Compost Tea Differ From Regular Compost?
Unlike regular compost, compost tea is a liquid preparation you create by brewing compost in aerated water for 24-36 hours. While solid compost adds structure and nutrients to soil gradually, compost tea delivers an immediate boost of beneficial microbes and nutrients that plants can quickly absorb.
You’ll need special equipment to make proper compost tea, and it must be used soon after brewing, whereas regular compost remains stable for months.
Conclusion
You’re now equipped to start your composting journey! By selecting the right bin, adding proper materials, and maintaining the balance, you’ll create nutrient-rich compost for your garden. Remember, composting isn’t just good for your plants, it’s great for the planet too. When problems arise, use the troubleshooting tips to get back on track. Your efforts will reward you with beautiful plants and the satisfaction of reducing waste.